


Hey there, folks! As a supplier of DC Hipot testers, I'm stoked to share with you how to perform DC Hipot testing on a motor. DC Hipot testing is a crucial process that helps ensure the safety and reliability of motors. It's all about checking the insulation integrity of the motor to prevent electrical failures and potential hazards.
Understanding DC Hipot Testing
Before we dive into the testing process, let's quickly go over what DC Hipot testing is all about. DC Hipot, short for Direct Current High Potential testing, involves applying a high DC voltage to the motor's windings for a specified period. This high voltage stress tests the insulation to see if it can withstand the electrical pressure without breaking down. If there's a weakness in the insulation, it'll show up as a leakage current during the test.
Preparing for the Test
First things first, you gotta make sure you've got all the right tools and equipment. You'll need a DC Hipot tester, of course. We've got some top - notch ones that are super reliable and easy to use. Also, gather some basic safety gear like insulated gloves and safety glasses. Safety should always be your top priority when working with high voltages.
Before you start the test, you need to disconnect the motor from the power source. This is a no - brainer, but you'd be surprised how many people forget. You don't want to risk getting electrocuted or damaging the tester. Also, make sure the motor is clean and dry. Any dirt, moisture, or debris can affect the test results.
Connecting the Tester
Once you've prepped the motor, it's time to connect the DC Hipot tester. The tester usually has two leads: a high - voltage lead and a ground lead. Connect the high - voltage lead to the motor's winding. You'll need to expose the winding terminals to make a proper connection. Be careful when handling the leads to avoid any accidental contact with live parts.
Next, connect the ground lead to the motor's frame. The frame should be properly grounded to ensure accurate test results. Double - check all the connections to make sure they're secure. A loose connection can cause inaccurate readings or even damage the tester.
Setting the Test Parameters
Now that everything is connected, it's time to set the test parameters. The two main parameters you need to set are the test voltage and the test time. The test voltage depends on the motor's rated voltage and the application. As a general rule, the test voltage is usually higher than the motor's rated voltage. For example, if the motor is rated at 220V, the test voltage might be set at 1000V.
The test time is typically around 1 - 5 minutes. This gives enough time for the insulation to stabilize and for any potential insulation weaknesses to show up. You can adjust these parameters according to the specific requirements of the motor and the testing standards.
Performing the Test
Once you've set the parameters, it's time to start the test. Press the start button on the DC Hipot tester, and it'll start applying the high DC voltage to the motor's winding. Keep an eye on the tester's display. It'll show you the test voltage, the leakage current, and the test time.
During the test, you should look for any signs of insulation breakdown. If the leakage current exceeds the acceptable limit, it could indicate a problem with the insulation. You might also hear a popping or cracking sound, which is a clear sign of insulation failure.
If everything goes well and the leakage current stays within the acceptable range, the motor passes the test. But if there's a problem, you'll need to investigate further to find out what's causing the insulation breakdown.
Post - Test Procedures
After the test is complete, turn off the DC Hipot tester and disconnect the leads. Make sure to discharge any stored energy in the motor's winding. You can do this by short - circuiting the winding terminals with a discharge resistor.
Once the motor is safely discharged, you can reconnect it to the power source and start it up. Check to see if the motor is running smoothly. If there are any issues, you might need to perform additional tests or repairs.
Related Equipment
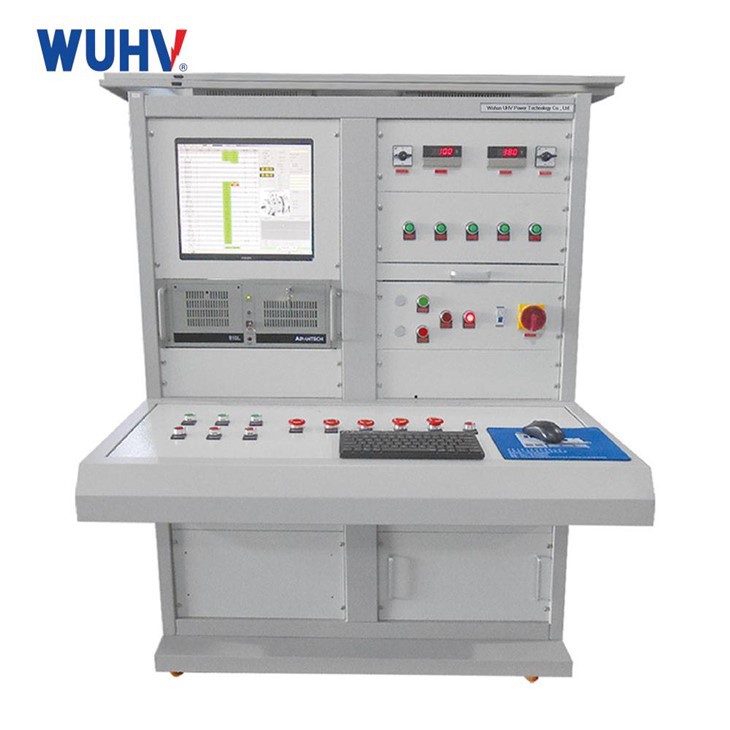
If you're in the business of motor testing, you might also be interested in some related equipment. For example, the 0.12kW - 90kW Single - Phase & Three - Phase Asynchronous Motor Test Bench is a great tool for comprehensive motor testing. It can test motors of different power ratings and phases, giving you a detailed analysis of the motor's performance.
Another useful piece of equipment is the VLF Test Kit. VLF, or Very Low Frequency, testing is another method for testing the insulation of motors and other electrical equipment. It's a more advanced and accurate way of detecting insulation problems.
And if you're specifically dealing with starter motors, the Starter Motor Test Bench is a must - have. It allows you to test the performance of starter motors under different conditions, ensuring they're in top - notch condition.
Conclusion
Performing DC Hipot testing on a motor is an important step in ensuring its safety and reliability. By following the steps I've outlined above, you can effectively test the insulation integrity of the motor and identify any potential problems.

If you're in the market for a DC Hipot tester or any of the related equipment I mentioned, don't hesitate to reach out. We've got a wide range of high - quality products that can meet your testing needs. Whether you're a small - scale workshop or a large - scale manufacturing plant, we've got you covered. Contact us to start a discussion about your specific requirements and let's find the perfect solution for you.
References
- Electrical Insulation Testing Handbook
- Motor Testing Standards and Guidelines